![Logotype-primary (1).png]](https://knowledgebase.getvim.com/hs-fs/hubfs/Knowledge%20Base/Logotype-primary%20(1).png?height=50&name=Logotype-primary%20(1).png)
Prerequisites
- Azure AD Connect server is installed, configured, and properly synced with your on-prem Active Directory.
- Azure AD Connect Single Sign On feature is enabled and configured.
Step 1 – Enabling Single Sign On Feature:
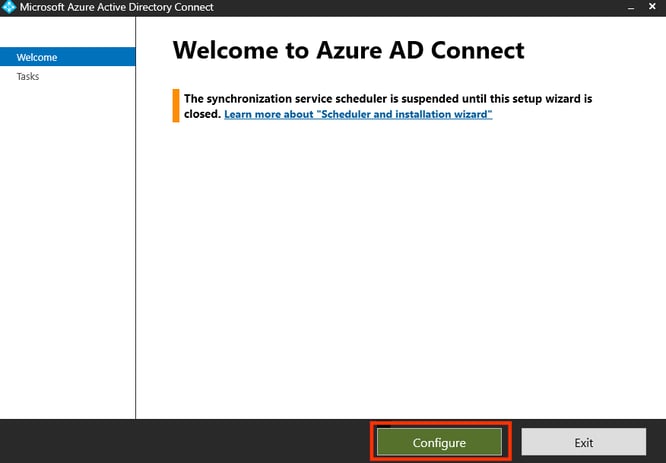
- On the Azure AD Connect server, double click the Azure AD Connect icon to launch the wizard

- Click “Configure”
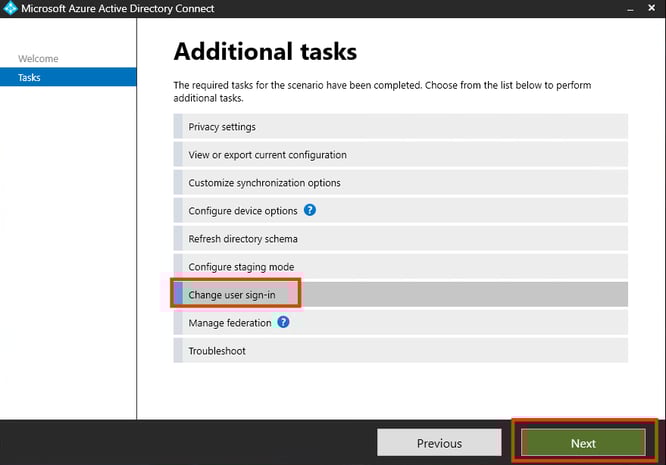
- Click “Change user sign-in” then click "Next"
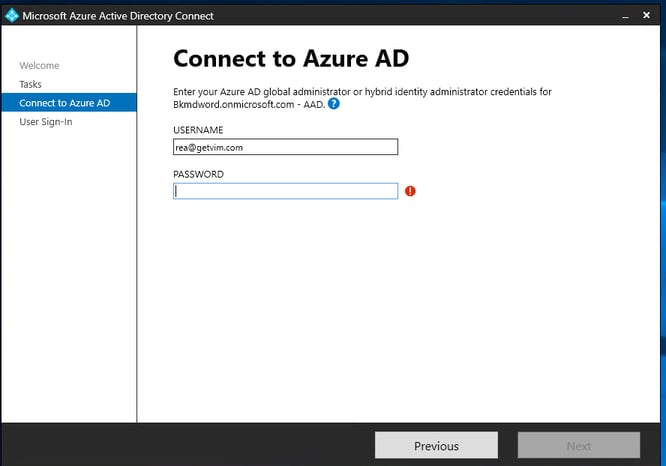
- Enter Azure AD global administrator username and password
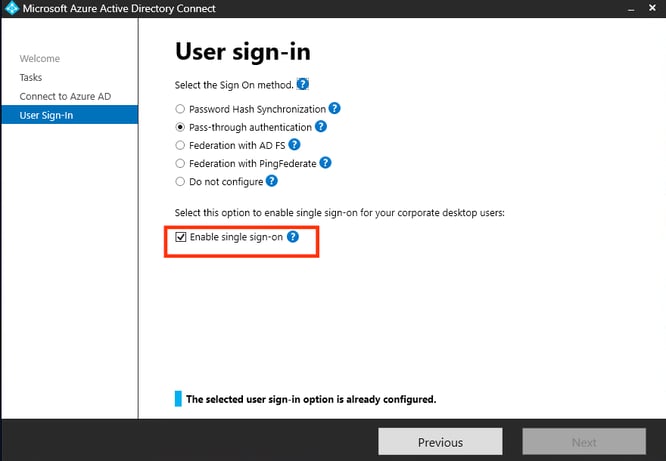
- Mark “Enable single sign-on” and then click "Next"
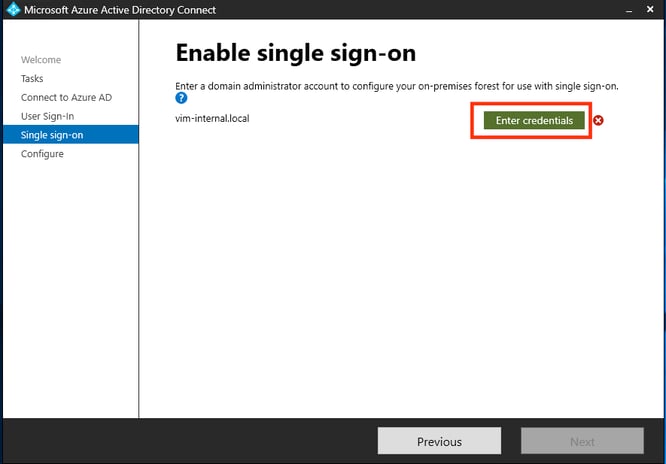
- AD Connect will now ask you to enter a domain administrator credentials for your on-prem active directory. Click “Enter Credentials” and enter a domain administrator credentials, then click "Next"
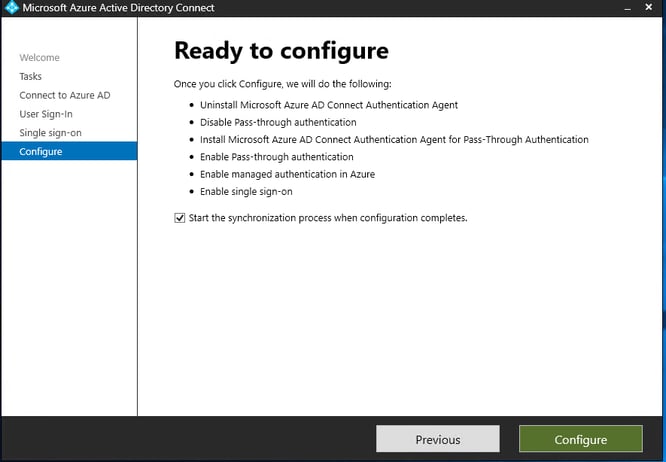
- The wizard will then show you a configuration summary, click "Configure"
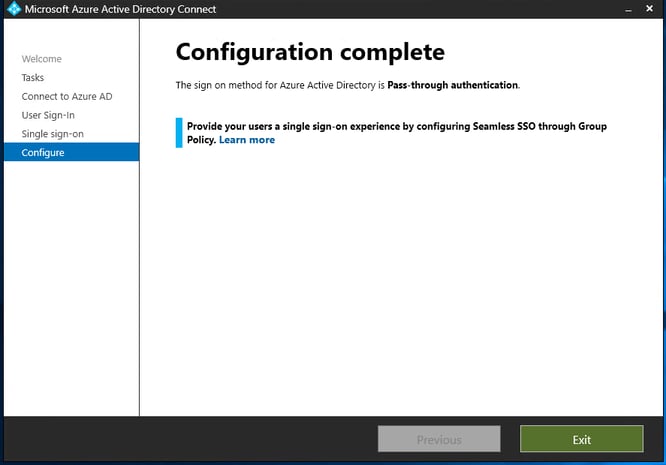
- The wizard will now configure single sign-on, when it’s done you will see a “Configuration complete” window. Click "Exit" to exit the wizard.
Step 2 – Rolling Out SSO
- On your GPO Server, Open Group Policy Management Editor tool.
- Create a new policy or edit an existing policy that fits the group of users that should access Vim Connect.
- Right click the GPO, then click Edit

- Browse to User Configuration > Policies > Administrative Templates > Windows Components > Internet Explorer > Internet Control Panel > Security Page. Then select Site to Zone Assignment List

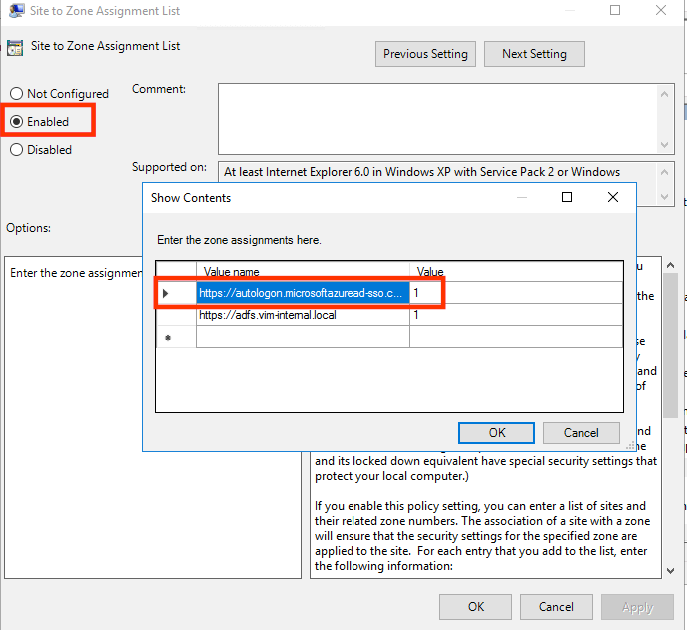
- Click Enable. Click the Show button next to “Enter the zone assignments here” and then enter the following values in the dialog box:
Value name: https://autologon.microsoftazuread-sso.com
Value (Data) : 1 - Select OK, and then select OK again.
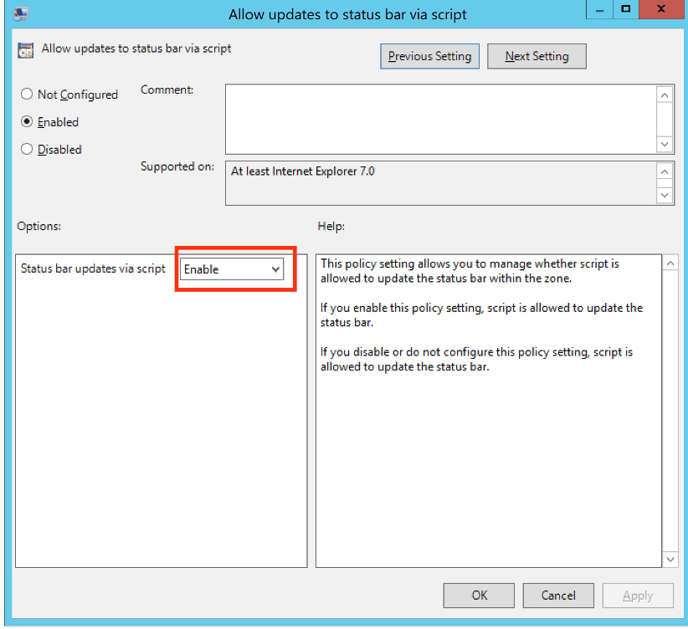
- Browse to User Configuration > Policies > Administrative Templates > Windows Components > Internet Explorer > Internet Control Panel > Security Page > Intranet Zone. Then select Allow updates to status bar via script.
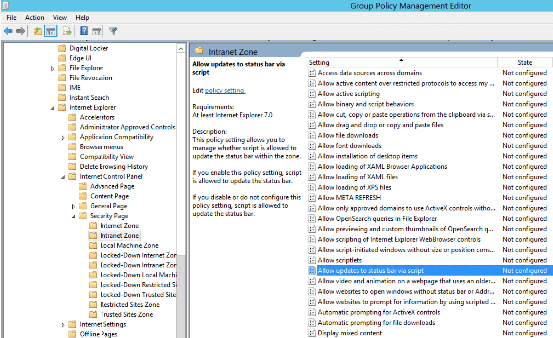
- Enable the policy setting and then click OK.
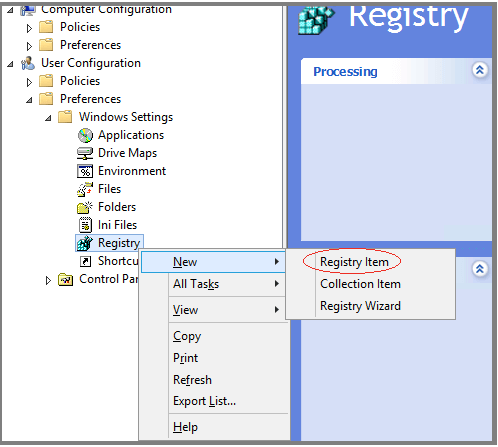
- Browse to User Configuration > Preferences > Windows Settings > Registry > New > Registry item
- Enter the following values in the appropriate fields and click OK:
Key Path: Software\Microsoft\Windows\CurrentVersion\Internet Settings\ZoneMap\Domains\microsoftazuread-sso.com\autologon
Value name: https
Value type: REG_DWORD
Value Data: 00000001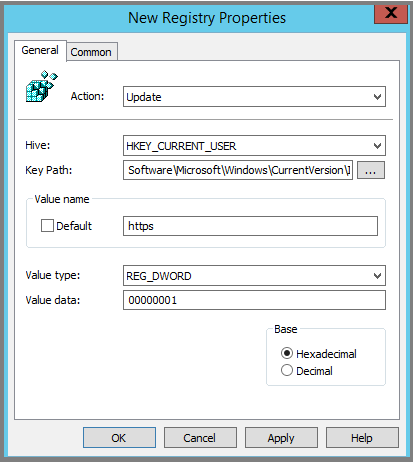
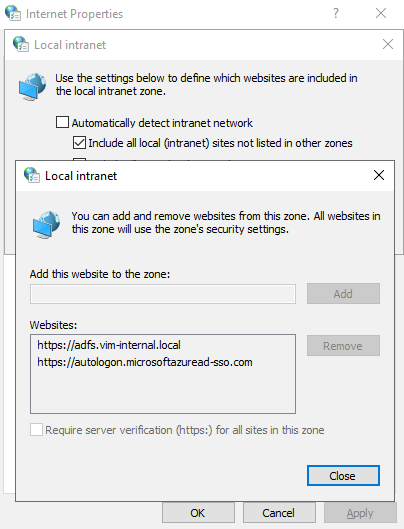
- On a test workstation, run gpupdate /force and then check if the url was added to the intranet sites by going to start menu → Internet Options → Security tab → Local Intranet → Sites → Advanced
Step 3 – Configuring SSO App In Azure AD
- Request the connection identifier of your organization from the Vim team (will be described in the document as CONNECTION_NAME).
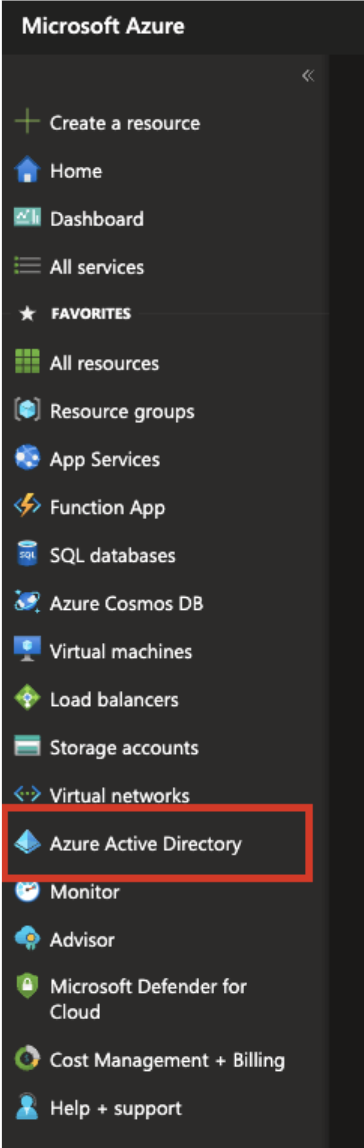
- Open Azure Portal https://portal.azure.com/, on the right side menu choose “Azure Active Directory”
If there is no such service, Open “All services” and type “Azure Active Directory”: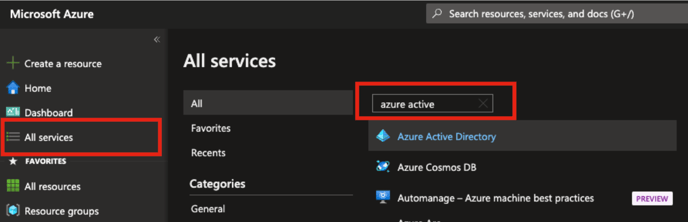
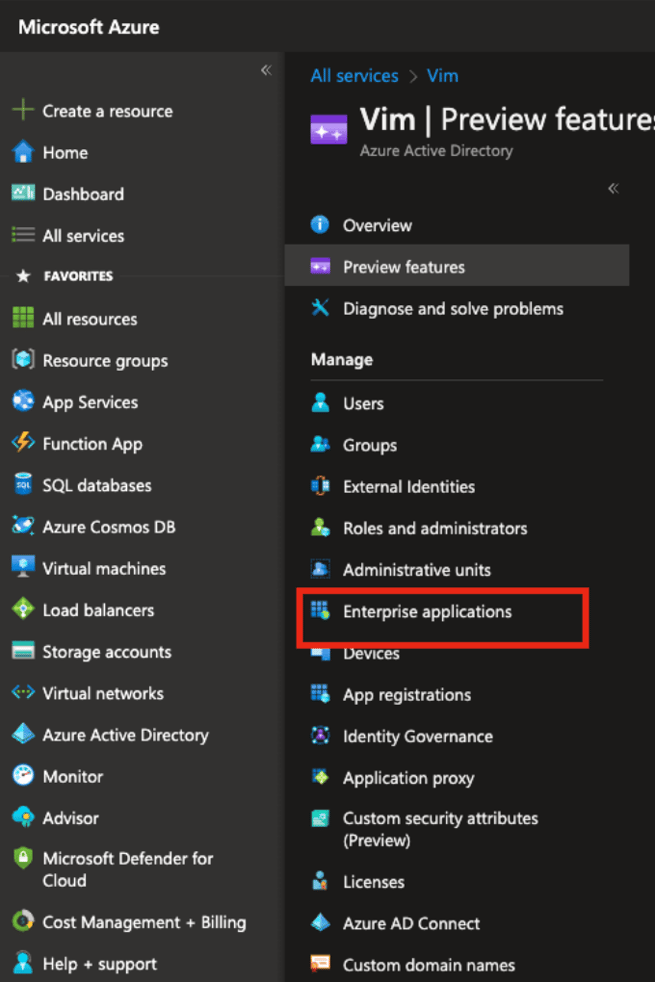
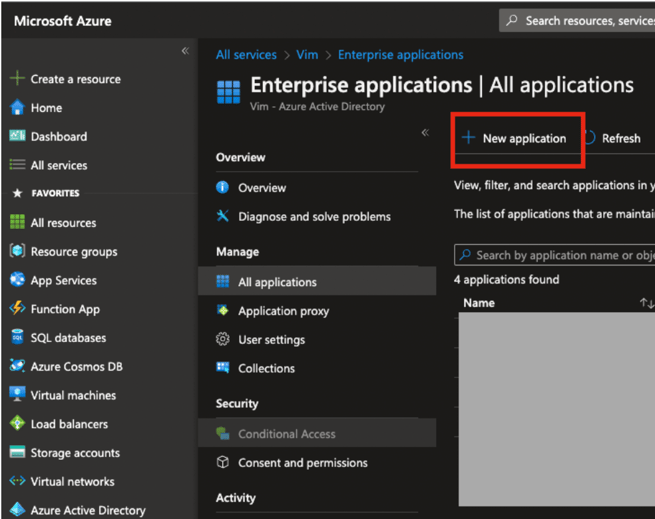
- In Active Directory menu choose “Enterprise applications”
- In opened section choose “New Application”
Choose “Create your own application”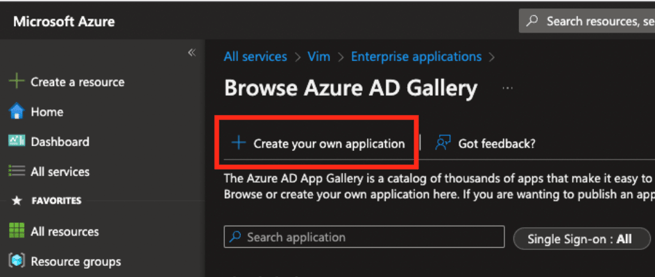
Pick “Non-gallery application” type - Type in the name “Vim Connect”
Select “Integrate any other application you don’t find in the gallery (Non-gallery)” and press “Add”.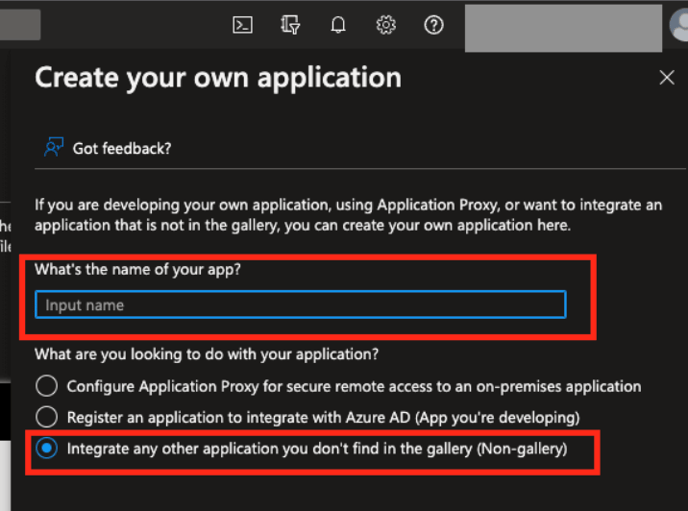
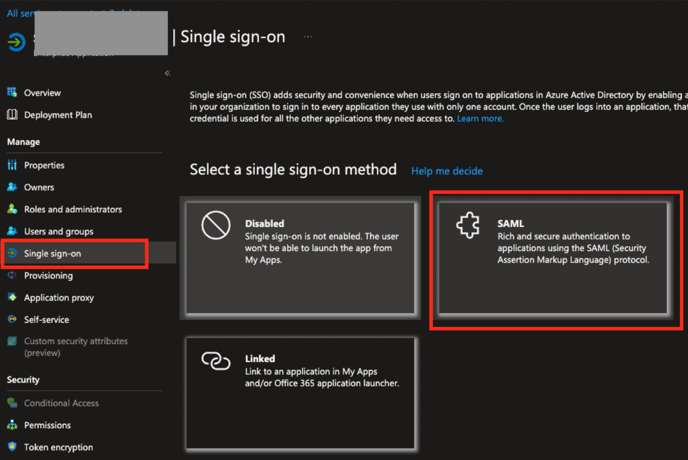
- In your Azure AD enterprise application choose section “Single sign-on”, in dropdown list choose “SAML-based Sign-on”
- In the first section “Basic SAML Configuration” click on edit
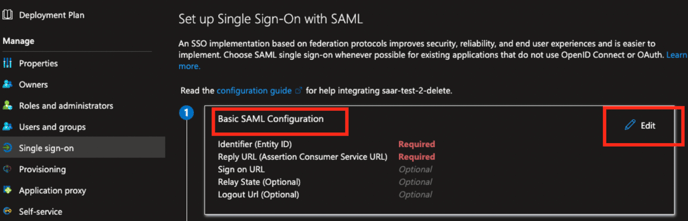
- In section “Basic SAML Configuration” set next information:
- Identifier:
urn:auth0:prod-getvim:CONNECTION_NAME - Reply URL:
https://auth.getvim.com/login/callback?connection=CONNECTION_NAME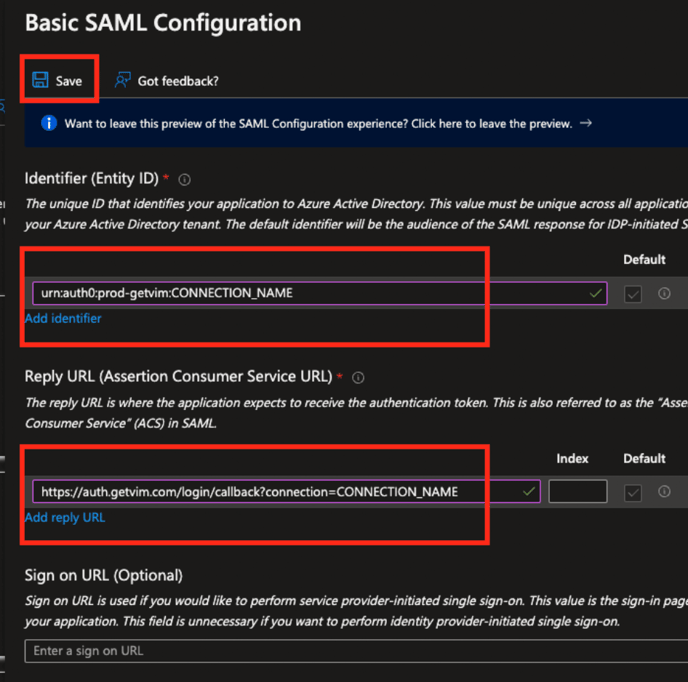
- Identifier:
- Save your changes and close the form
** there might be a bug in the azure screen, please make sure after this step you refresh the page before next step (download the certificate file) - In the “SAML signing Certificate” section, click on “Download” next to the “Certificate (Base64)” and copy the “Login URL” in the next section:
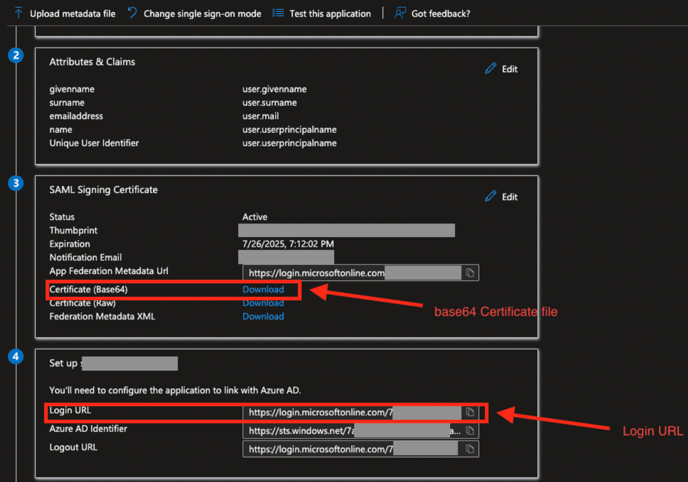
- Send the “Certificate” file and the “login URL” to Vim.
- In your Azure AD select “Enterprise applications” and choose your application. Select “Users and groups”->“Add user”.
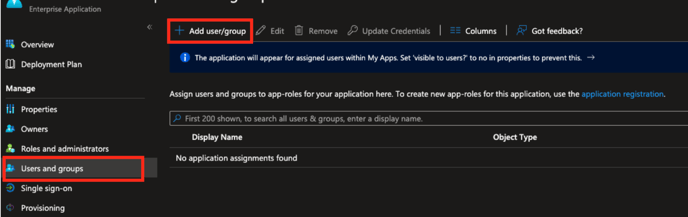
- Invite new users or select from existing. These users will be able to login with this Azure
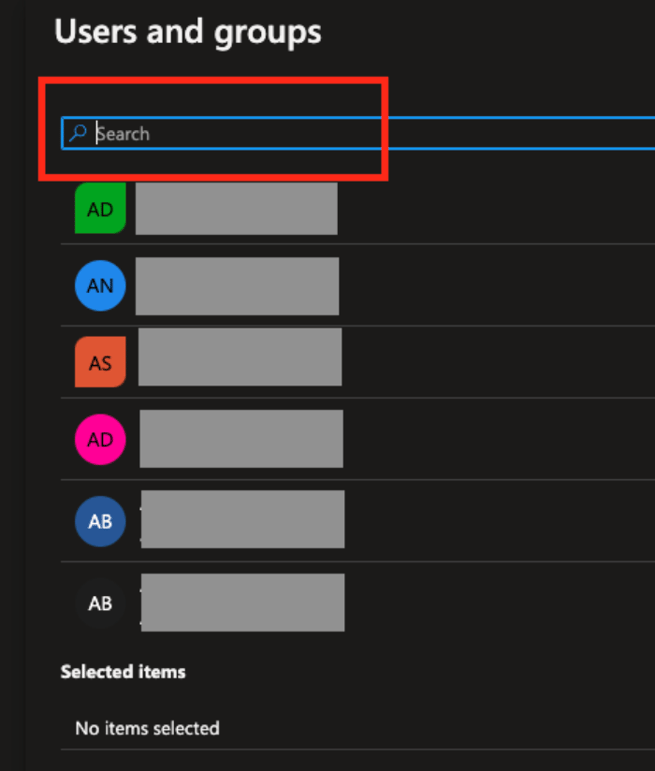
- ADD account to Vim Connect. When you finish adding a user, select “Assign”.